SEARCH HOMESCHOOLING ROCKS!

Showing posts with label seeds. Show all posts

Monday, March 9, 2015

Top Tips for Planting Seeds Indoors


Sowing seeds is one of the most awesome gardening adventures! If you've not had success, try these tips. Everyone CAN grow amazing plants from seeds. There is so much more to know that what is on the back of the seed packet.

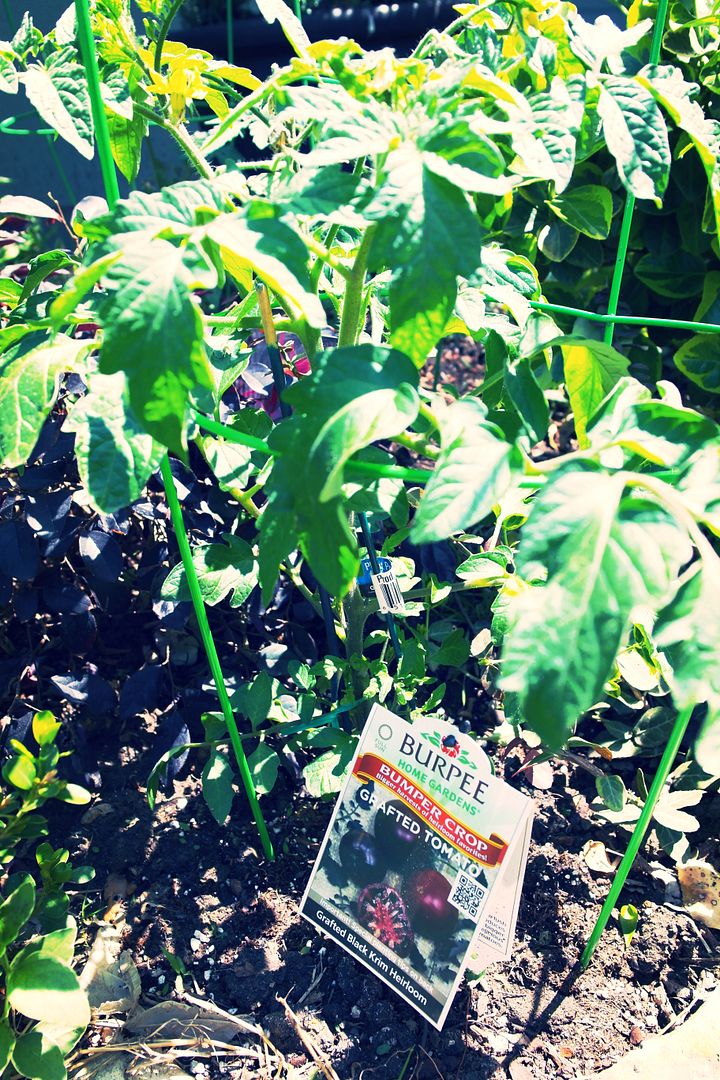
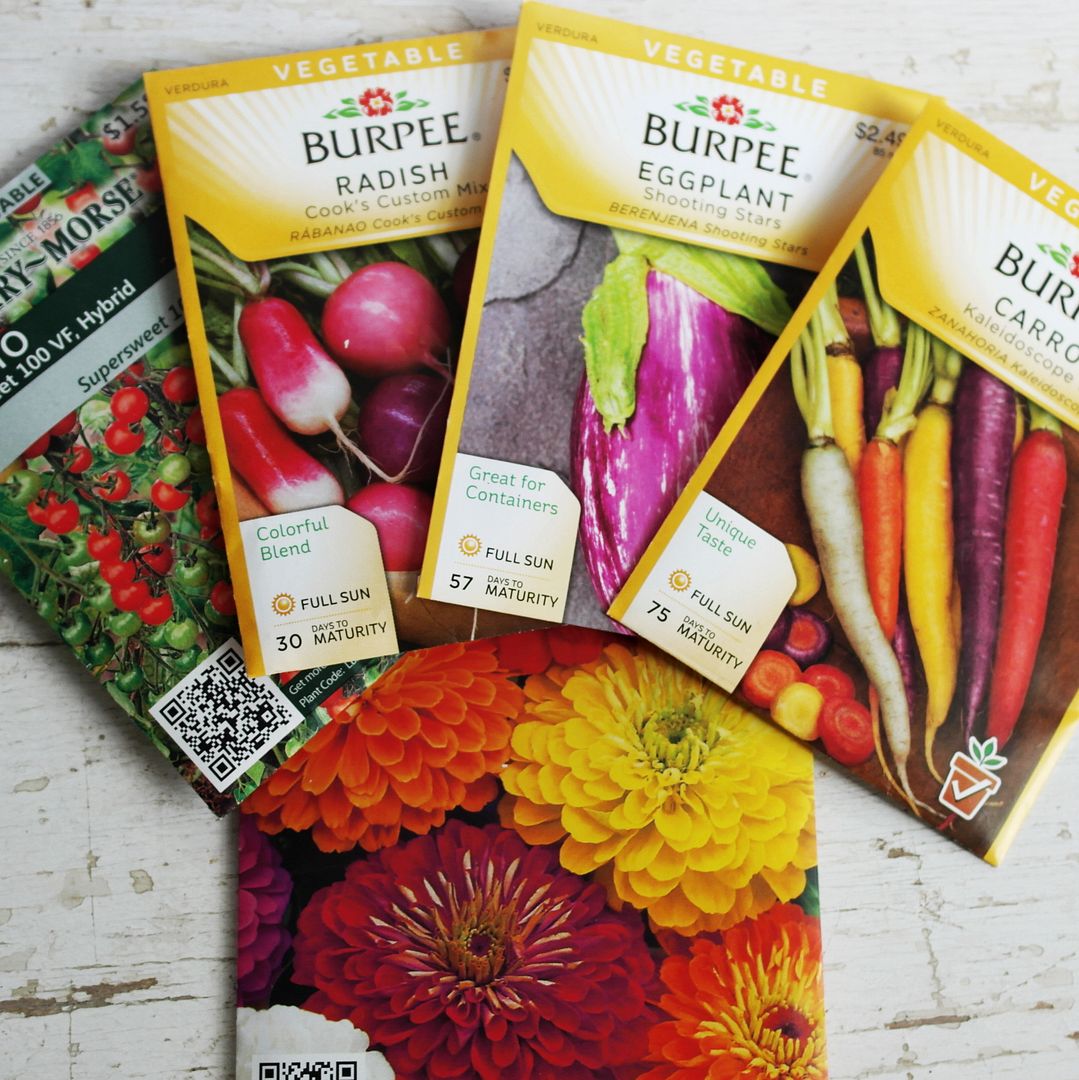
Tip #1/ Pick easy to grow varieties for your planting zone. It's exciting to grow unusual varieties, and I often do. But always plant a regular variety too! If the exotic doesn't do so well, you'll always have a backup. An easy to grow variety will flourish. The exotic is bonus!

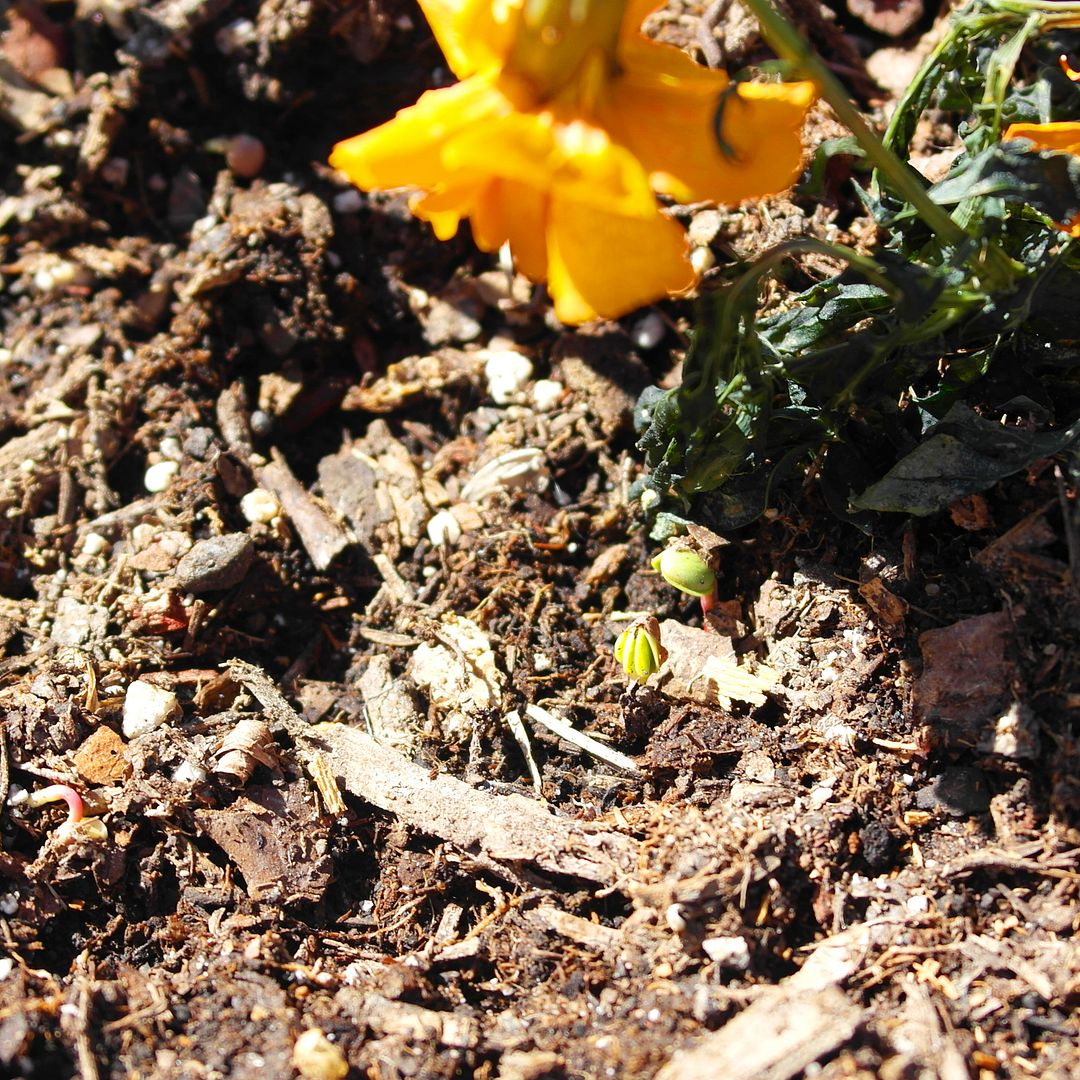
These yellow lovelies are cucumbers. Just stunning.


My backup? A plain, green pickling variety. Different varieties grown side by side make it easy to compare growth patterns, health, and yields.

Tip #2/ Use a seed starting kit. Really, use it! I have seen so many cute designs on Pinterest from egg cartons and other materials. In my experience, they get moldy and gross. Not ideal for plants. Use the right tools for the job.

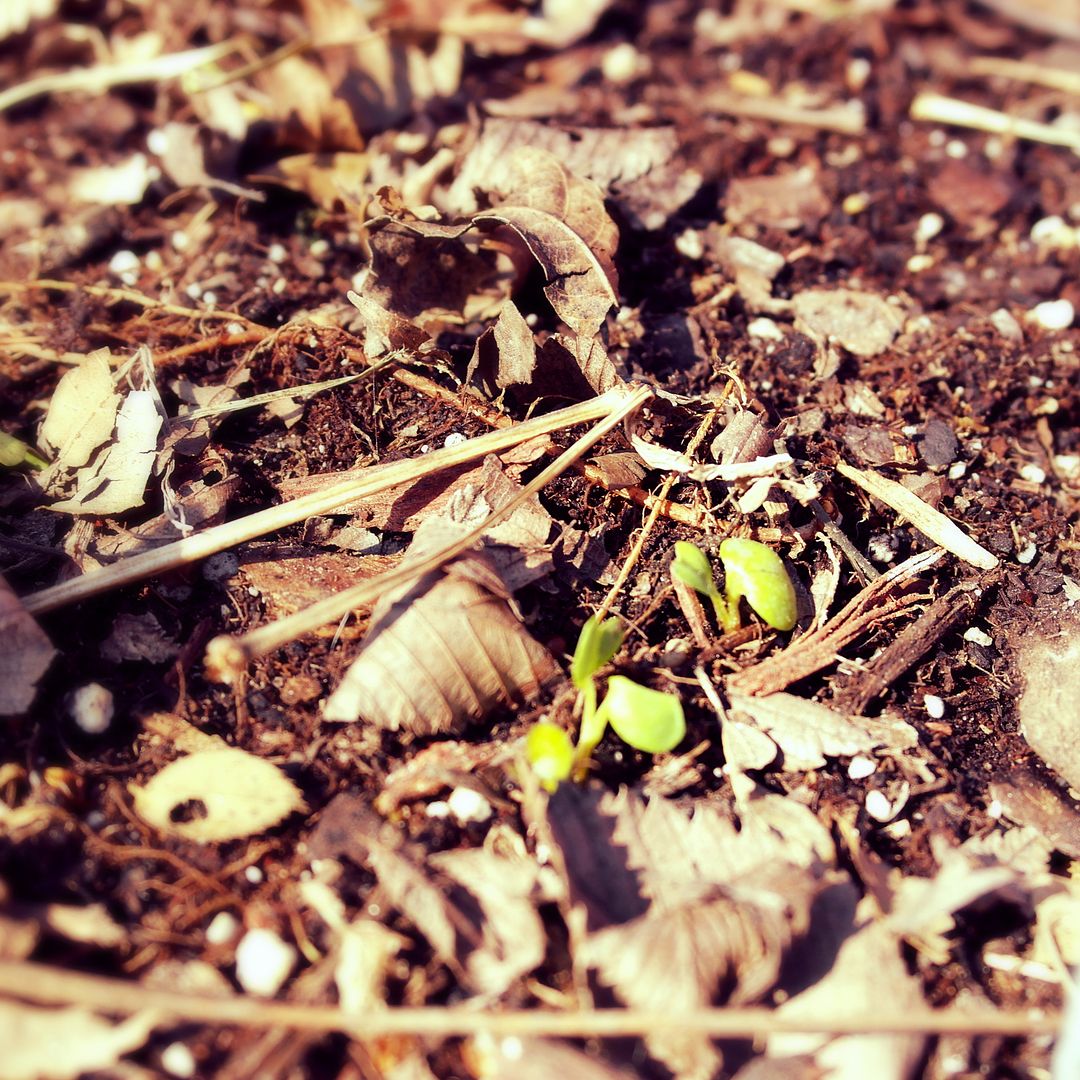
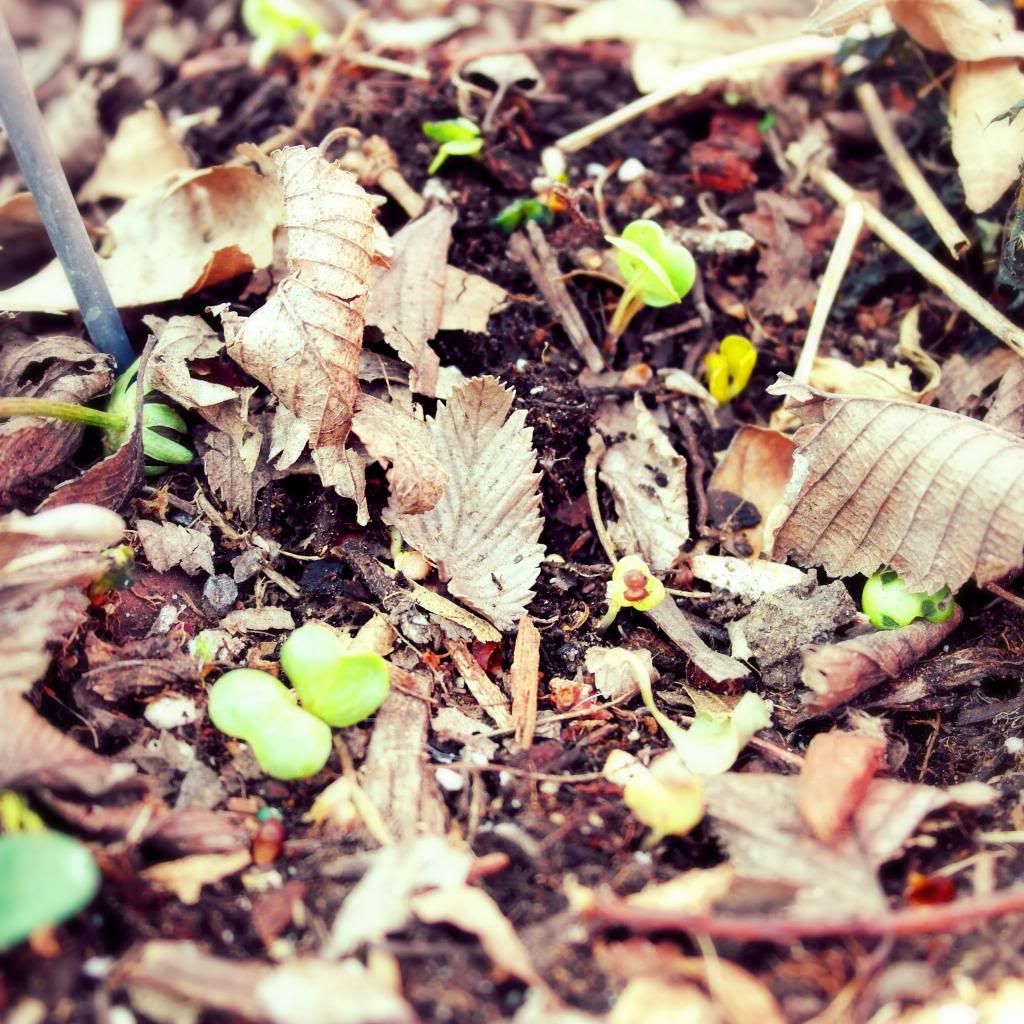
Tip #3/ Plant 2-3 seeds per peat pot. Some seeds will not grow. If only one is planted per pot, you'll have empty pots. Empty pots are frustrating and completely avoidable. An extra seed in the peat pot will ensure beautiful green seedlings!


Tip #4/ Don't cover your seeds until you've planted them all. Inevitably, you'll get interrupted and forget where you stopped planting. So just wait until all rows are planted to cover them. M likes to push the seeds down a bit with a chopstick. Then cover with a little peat from the pot. 

Tip #5/ Mark north with an 'N' in Sharpie on your tray. Write down each row planting - Row 1 zinnias, Row 2 cucumbers, etc. All my row plantings are written in a dollar store composition book. When the tray is turned, you will always know which side is Row 1! And since the pages are bound together, all your information will be in one handy place.


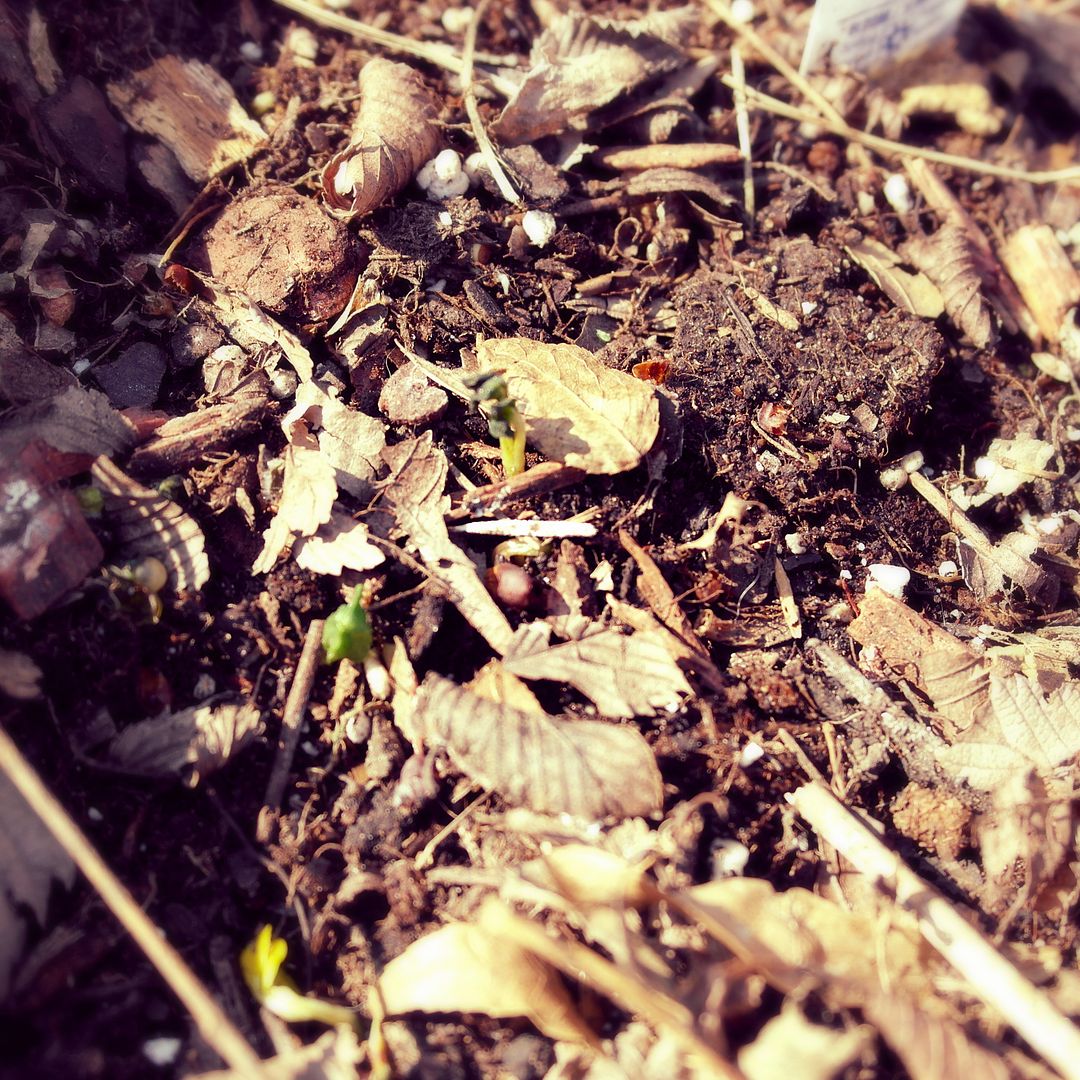
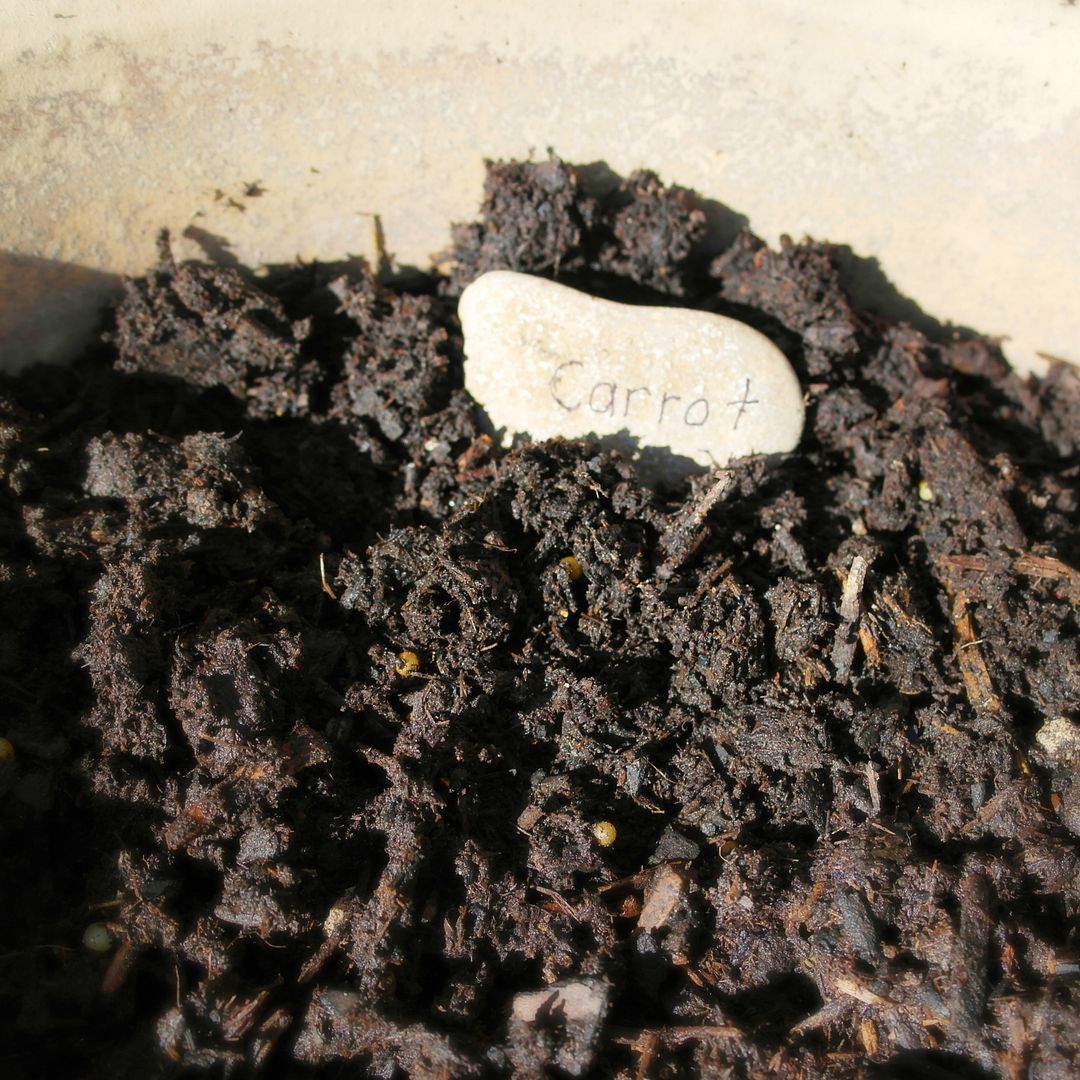
Tip #6/ Keep the tray watered and covered. The top should look like this:


If there is no condensation on your lid, add more water or move to a warmer spot. Seeds need warmth and water to germinate and grow well. Or else they get moldy and die. Let's avoid that ;)

Tip#7/ As soon as seeds sprout and start leaning toward the sun, flip the tray 180 degrees daily. It helps the stems grow straight.

Tip #8/ When your larger seedlings are almost touching the top of the tray, move them to a taller plastic bin. If you don't, their stems will bend and most likely break. Broken stems will kill the plant at this stage!


I use a Sterilite bin with a lid. You can buy these anywhere. Though it's designed for hanging files, taller seedlings love it. 

Remember to keep your bin moist and place in a warm/ sunny spot. As soon as the seedlings have leaves, they need sunlight to photosynthesize. Think mini-greenhouse. 


My seedlings usually need at least four to six weeks in a bin or 'mini-greenhouse' environment to form strong starter plants. Open the lid each morning and night for a couple of hours to let fresh air in...

Tip #9/ Label your plants. Once the seedlings are in a larger bin, you need to know which is which. Sometimes I can figure it out the by the leaf's shape, but it's better to label unless you are really experienced. Popsicle sticks make inexpensive dividers + labels.


Any tips to share? I'd love to hear them and what you are planting.

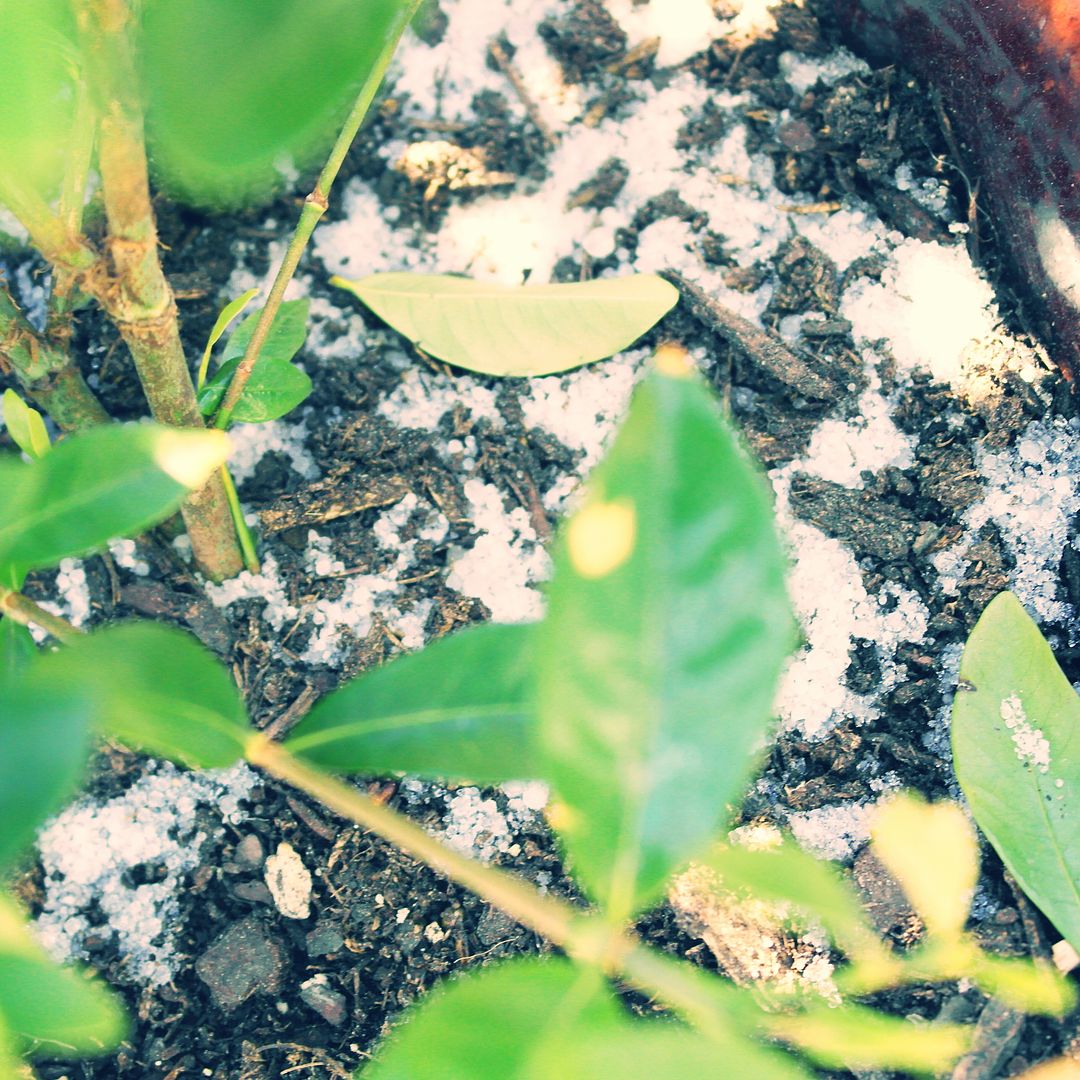
Stay tuned for my list of crops and herbs to be planted this season. Hopefully, there will be no more ice storms...

Friday, April 18, 2014

Growing Garden ~ Who Ate the Radishes?

Our radishes are ready for harvest! And a little mouse named Madeline has been eating them all. No joke. She ate 10 radishes in one afternoon, and then we quit counting ;)

Her verdict? Spicy, peppery, crispy, crunchy, and refreshing. 

Radishes grown from seed


What you see is what's left of the barrel full of rashes. Not much. These were so easy to grow, we will definitely replant another crop. And yes, these are the same little seedlings Madeline and I protected from the late freeze. And now look at them!

Wednesday, April 16, 2014

Growing Garden Experiment ~ Heirloom vs. Hybrid Tomatoes

Science experiment in the garden! This spring and summer, we've decided to experiment with with hybrid and heirloom grafted tomatoes.

The first group of specimens are hybrid tomatoes sown from seed. The feathery young leaves on the top right are the tomatoes. I honestly don't remember which variety they are.

Tomato hybrid seedlings, about $3 per seed packet at Lowe's


Because the kids and I are impatient gardeners, we also bought two (2) young hybrid plants as our second set of specimens. Their common name is Lemon Boy. The fruit are large and yellow, so I am hoping they will be interesting to grow!

Lemon boy plant from Home Depot, about $4 per plant


The third set of specimens are heirloom grafted tomatoes. We've never grown this type of plant and have never had good results or yield with traditional heirloom tomatoes.

However, these plants graft the top of a heirloom variety plant onto the base and roots of a hybrid plant! Supposedly, this increases the yield by 50%. Plus, you get incredibly unique varieties of tomatoes that just can't be found at big box stores.

These heirloom grafted plants cost about three times (3x) the cost of hybrids from the big box stores, but they were also about three times as big. Very healthy with plenty of flowers too. And I can't wait to see all the interesting tomatoes they produce!

Plant with variety of heirloom tomatoes, cost $12/plant at
Calloway's nursery


Heirloom variety with purple tops and yellow bottoms, cost $12/plant at
Calloway's nursery


This heirloom variety is nearly black in color! Cost $12/plant at
Calloway's nursery.

Since my old tomato cages were broken and old, they were replaced with these fun green ones. No more boring gray! Home Depot also had them in a dark raspberry, orange, and aqua. Fun colors!

If you are having a garden experiment, please share ~ I'd love to hear about it and get more ideas for the garden...

Tuesday, April 15, 2014

Growing Garden ~ Eggplant Musical Chairs

Sometimes, plants just don't stay where you want them. This is the pot where we sowed eggplant seeds. Notice anything wrong?

Where did the seeds and dirt go?

Thanks to my 65 lb. hunk of love, Tank, the pot somehow fell over. I tried to put the spilled dirt back in, but somehow it ended upturned again.

I gave up. And then saw this:

Eggplant? 

I'm about 90% sure this is an eggplant seedling. There is a set of four of them on the edge of the walkway a few feet from the original pot.

For now, I'm taking a wait and see approach. I guess they just didn't like that pot and found a new home ;)

Saturday, April 12, 2014

Growing Garden ~ Carrots Emerging

Look what finally has started growing...the feathery tops of our carrots :)


Potted carrots and lillies


Friday, March 7, 2014

Science/Horticulture: Yikes! Frozen Seedlings, Week 2

Even though all our plants were coming out of dormancy, a late freeze hit! Madeline freaked out and wondered if her little seedlings would survive. Actually, she downright panicked. So we covered them with lots of leftover fall leaves in an effort to insulate them.

Poor marigolds, I saved the flowers for the seeds.
Then I piled up more leaves to protect our little seedlings.


In the span of two days, the temperature dropped from nearly 80 degrees to 21 degrees. A 60 degree difference. How's that for crazy Texas weather?

Two days later, there was still evidence of the freeze on the ground and in our pots.

Small bits of frozen ice in the camilla pot. The big buds
seem to be fine and are still opening into their flowers as if
the freeze never happened. 


We carefully removed our layers of leaves to see if the sprouts were survivors. Just a couple had a tiny bit of leaf burn, but no damage to the stems. And most were absolutely perfect!


Minor leaf burn on just a handful of sprouts.
No damage to stems and secondary leaves are sprouting.


Most seedlings are just perfect. Whew!


Wondering if the leaves that had damage are a different plant than
the rest? We'll find out soon enough.

All the flowers and new growth on my peach tree and hummingbird plant died. Madeline and I don't know how or if our peach yield will be affected. This is our first spring with the peach tree, so I hope we get more flowers and don't lose fruit!

This led to a wonderful discussion on farming and weather. Madeline was shocked that framers could lose an entire crop {and their monetary profits} due to late freezes or extreme weather. She decided we should definitely not be farmers and only grow crops for fun! 

She even remembered about farmer Fitzgibbon from Mrs. Frisby and the Rats of NIMH and how he had to try to predict the last frost so he could plant his crops. We talked about what would happen to the crops if he planted too early or too late. She definitely has a whole new appreciation for farmers!

I'm tempted to keep a few leaves in case another late freeze comes our way :)  How are your seedlings faring? Any close calls? Tips for saving them? 


Friday, February 28, 2014

Science/Horticulture: Sprouted Seedlings, Week 1

Just seven days after planting seeds, look what appeared...

Tiny sprouts breaking ground


Exciting considering we had a light freeze! You can tell the marigold did not fare so well with freeze :)

My best guess is that the sprouts are radishes. They are usually the quickest to sprout and the quickest to harvest. 

Can't wait to see what the sprouts look like in another week. Nothing yet in the carrot or eggplant pots. 

Friday, February 21, 2014

Our Backyard Classroom ~ Has Spring Sprung? {Sewing Seeds and Horticulture}

The backyard is our outdoor classroom. There are so many opportunities for learning. Plants, weather, little creatures like insects and worms. A comfy swing to sit and write.

The weather has been awesome the last few weeks. As in 70-75 degrees beautiful! And then I saw this...

My peach tree is in bloom!

To be fair, my peach tree is in the front yard. But still ~ it's in bloom! Time to get the our backyard classroom ready for spring :)  It's just too gorgeous not to be outside.

When I opened my back door, a surprise was waiting for me...

Bright fushia camilla blossoms

Madeline was adamant we buy some new seeds. Every year, we try growing something new. It's a fun way to experiment with life science. Here are this year's selections:

Cherry tomatoes, fancy radishes, eggplant, colorful carrots,
and mammoth zinnias

Sowing seeds is the easy part. Trying to figure out what you planted...always a challenge. So we used rocks as plant labels. My trusty Sharpie should weather the elements just fine.


So excited to grow colorful carrots. A new experience!

Last year my hubby bought me an amazing hydrangea for Mother's Day. It was supposed to go in front of the kids playhouse in the shade. It died. Or maybe it went dormant. It was ugly. I threw it away.

That left a big empty pot. Not very attractive just filled with dirt. Empty pot, meet your new friends ~ Camilla and Hosta.

Newly potted red camilla + variegated hosta and grasses

And since my mosquito plant froze, I added a gardenia to its pot next to the camilla. Now the girls have their own little playhouse plants :)

Can't wait for fragrant, white blossoms

It's time to say goodbye to winter. Before our little trip to the garden store, everything was so brown and barren. Thus, a rush to buy whatever few flowers the garden store had.

But look! The butterfly bush is sprouting tiny green leaves.

Ranunculus flowers were pretty much all Home Depot had. They are so beautiful, but bulbs last such a short time. Luckily, the butterfly bush behind it should be vigorously growing by then.

So excited for Spring! Get ready outdoor classroom, here we come :)